Key Takeaways:
- Coffee-infused soap can be made using cold brew as an ingredient.
- Cold brew retains the aromatic and invigorating properties of coffee in soap.
- Making coffee-infused soap requires blending cold brew with soap base and other essential oils, and allowing it to set.
- Coffee-infused soap offers exfoliating and rejuvenating benefits with a natural coffee scent.
Do you love the aroma of freshly brewed coffee? What if you could enjoy that invigorating scent every time you wash your hands or take a shower?
Well, with coffee-infused soap made using cold brew, you can! In this article, we’ll dive into the world of coffee-infused soap and explore the numerous benefits it offers for your skin.
We’ll also guide you step-by-step on how to make your very own coffee-infused soap, from creating the soap base to adding additional ingredients for a delightful touch. Get ready to indulge your senses and pamper your skin with this unique and invigorating soap!
Benefits of Coffee-Infused Soap
Coffee-infused soap provides various benefits for the skin, including exfoliation, reduction of inflammation, and antioxidant properties.
What is coffee-infused soap and why should you use it?
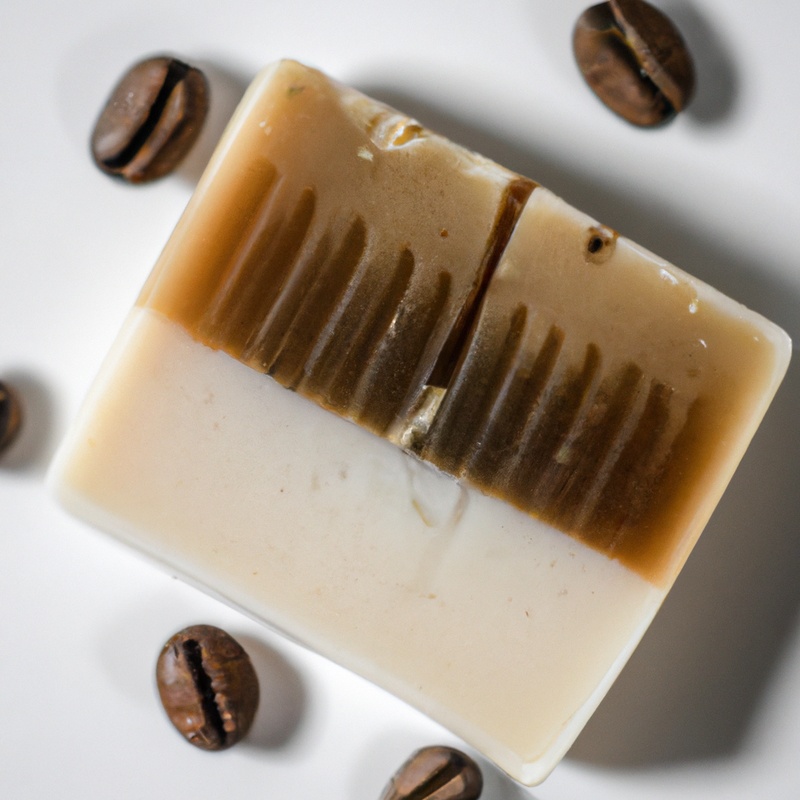
Coffee-infused soap is a unique type of soap that has been infused with the rich aroma and benefits of coffee.
It is made by adding coffee grounds or coffee oil to the soap mixture.
Using coffee-infused soap can offer several benefits.
Firstly, the caffeine in coffee can stimulate blood flow, promoting healthy and glowing skin.
Additionally, coffee is known for its antioxidant properties, which can help fight free radicals and protect the skin from damage.
Lastly, the exfoliating properties of coffee grounds can help remove dead skin cells, leaving your skin feeling smooth and rejuvenated.
So, if you’re a coffee lover and want to pamper your skin, coffee-infused soap can be a great addition to your skincare routine.
Benefits of coffee-infused soap for the skin
Coffee-infused soap offers several benefits for the skin.
First, it acts as an exfoliant, removing dead skin cells and leaving your skin feeling smoother and refreshed.
Second, the caffeine in coffee stimulates blood circulation, which can help reduce the appearance of cellulite and varicose veins.
Additionally, coffee contains antioxidants that can protect the skin from damage caused by free radicals, promoting a more youthful complexion.
Lastly, the natural oils in coffee can moisturize and hydrate the skin, leaving it soft and supple.
Overall, coffee-infused soap is a great addition to your skincare routine for healthy and glowing skin.
How to Make Cold Brew Coffee for Soap Making
To make cold brew coffee for soap making, you’ll need to gather the necessary ingredients and equipment.
Here’s a step-by-step guide on how to do it.
Gather the necessary ingredients and equipment
To make coffee-infused soap using cold brew, you’ll need a few key ingredients and equipment. Here’s what you’ll need: Ingredients:
- Coffee beans or grounds
- Distilled water
- Carrier oil (such as olive oil or coconut oil
- Lye (sodium hydroxide
Equipment:
- Coffee grinder or pre-ground coffee
- Jar or container for cold brewing
- Strainer or cheesecloth
- Heat-resistant pitcher or container
- Soap molds
By gathering these ingredients and equipment, you’ll be ready to start creating your own coffee-infused soap with cold brew.
Step-by-step instructions for making cold brew coffee
To make cold brew coffee, start by coarsely grinding your favorite coffee beans. Next, combine the ground coffee with cold water in a jar or container, using a ratio of 1 part coffee to 4 parts water.
Stir gently to ensure all the coffee grounds are fully saturated.
Then, cover the jar and let it steep in the refrigerator for 12 to 24 hours. Once the steeping is done, strain the coffee mixture through a fine-mesh sieve or coffee filter into a separate container, removing all the grounds.
And there you have it – delicious, smooth cold brew coffee ready to enjoy!
Creating the Soap Base
To create the soap base, you need to choose the right soap base and melt it before incorporating the cold brew coffee.
Choosing the right soap base
Choosing the right soap base is essential for making coffee-infused soap using cold brew. Look for a melt-and-pour soap base that has a neutral scent and color.
Avoid using glycerin soap bases, as they may not incorporate the coffee scent effectively.
Opt for a clear or white soap base that allows the coffee infusion to shine through. You can also experiment with adding additional ingredients, such as shea butter or coconut oil, for added moisturizing benefits.

Melting the soap base
To melt the soap base for your coffee-infused soap, you’ll need a double boiler or a microwave-safe container. If using a double boiler, fill the bottom pot with water and place it on the stove over low heat.
Take the soap base and cut it into small chunks for easier melting.
Place the soap chunks in the top pot or microwave-safe container. Slowly heat the soap base until it completely melts, stirring occasionally to ensure even melting.
Be careful not to overheat as it can affect the quality of your soap.
Once melted, remove from heat and proceed to the next step.

Incorporating the cold brew coffee into the soap base
To incorporate cold brew coffee into the soap base, start by brewing a strong batch of cold brew coffee. Once it has cooled, strain out any coffee grounds.
Next, melt your soap base in a double boiler or microwave.
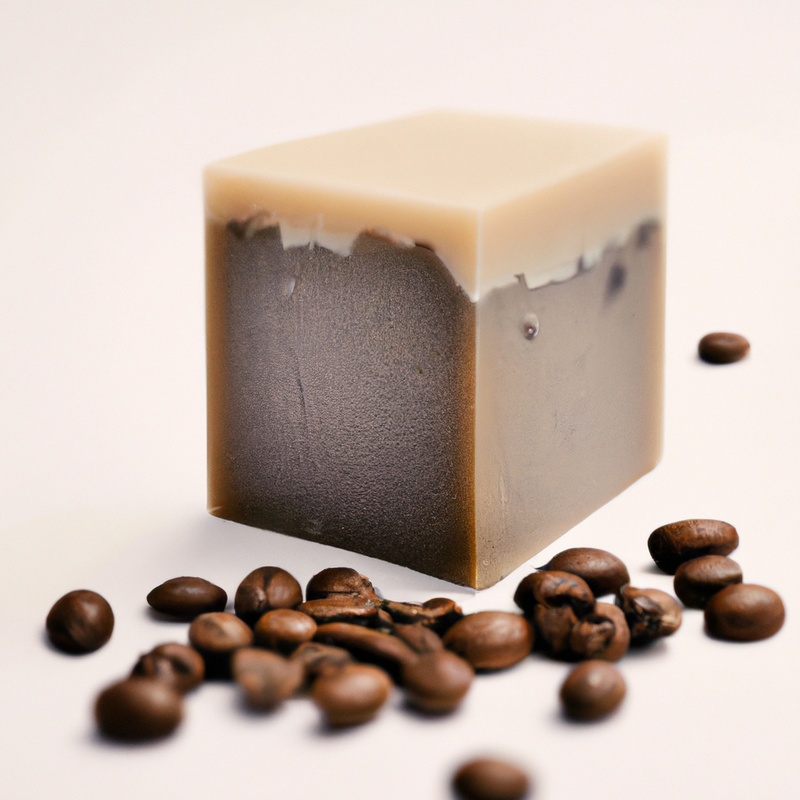
Once melted, add the cold brew coffee to the soap base and mix well. Pour the mixture into soap molds and let it set for several hours or overnight.
Finally, remove the soap from the molds and enjoy the invigorating scent of coffee in your homemade soap.
Adding Additional Ingredients for Scent and Exfoliation
To enhance the scent of your coffee-infused soap, consider using essential oils or fragrance oils. You can also add exfoliants like coffee grounds or oatmeal for a gentle scrubbing effect.
Choosing essential oils or fragrance oils for scent
When choosing essential oils or fragrance oils for scent in your coffee-infused soap, consider the following tips:
- Experiment with different scents: Try out various oils to find the perfect scent that complements the coffee fragrance.
- Consider the coffee’s aroma: Select oils that enhance or harmonize with the natural scent of coffee. For example, vanilla, cinnamon, or almond oils can beautifully complement the earthy aroma of coffee.
- Focus on personal preference: Choose oils that you personally enjoy and find appealing. It’s your soap, after all!
- Dilute properly: Essential oils are highly concentrated, so ensure that you dilute them correctly before adding them to your soap.
- Test for skin sensitivity: Before using any new oil, perform a patch test to ensure you don’t have any adverse reactions.
Remember, the choice of scent is entirely subjective. So have fun and get creative with your coffee-infused soap!
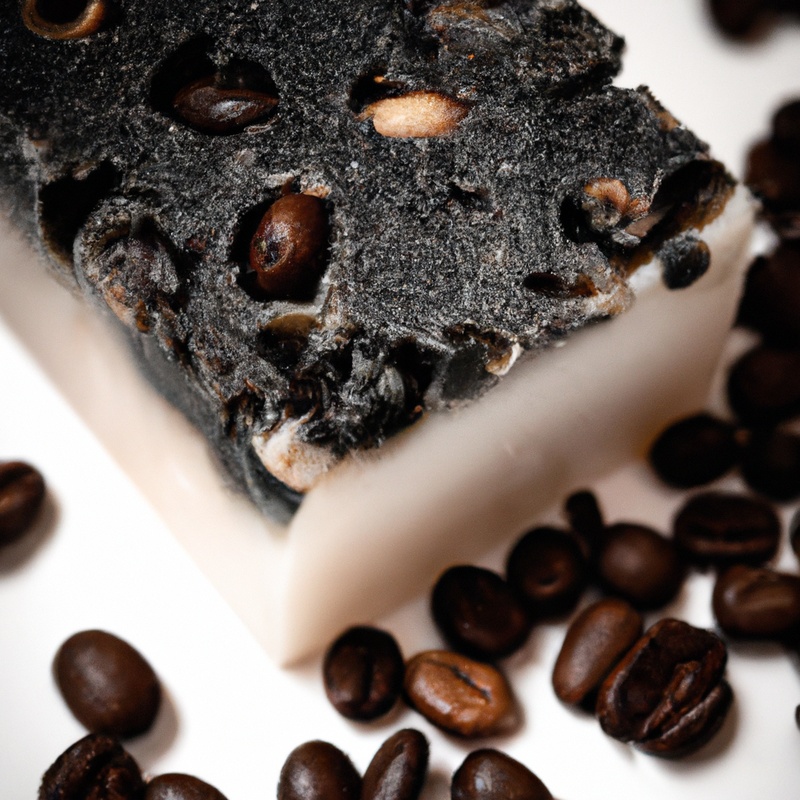
Adding exfoliants such as coffee grounds or oatmeal
Adding exfoliants such as coffee grounds or oatmeal to your coffee-infused soap is a great way to enhance its benefits.
These natural ingredients help to gently scrub away dead skin cells, leaving your skin smoother and more vibrant.
You can simply mix them into your soap base before pouring it into the molds.
Coffee grounds provide an invigorating scrub, while oatmeal adds a soothing and nourishing touch.
Experiment with the amount of exfoliants until you achieve your desired texture.

Molding and Curing the Soap
Once you’ve poured the soap mixture into molds, you’ll need to let it cure and harden. Afterward, you can easily remove the soap from the molds.
Pouring the soap mixture into molds
Now it’s time to pour the soap mixture into your molds. Make sure the molds are clean and ready to go.
Smoothly pour the mixture into each mold, filling them up to the top.
Take your time to ensure even distribution. If there are any bubbles on the surface, you can gently tap the mold to release them.
Allow the soap to cool and harden completely inside the molds before removing them.
This may take a few hours or even up to 24 hours depending on the recipe. Patience is key here.
Once the soap has set, you can carefully pop them out of the molds and admire your coffee-infused creations.
Happy soap making!
Allowing the soap to cure and harden
Allowing the soap to cure and harden is an essential step in the soap-making process. Here’s what you need to do:
- After molding your soap, place it in a dry and well-ventilated area.
- Make sure to give it enough time to cure, which typically takes 4-6 weeks.
- During this time, the soap will lose water and become harder, longer-lasting, and milder on the skin.
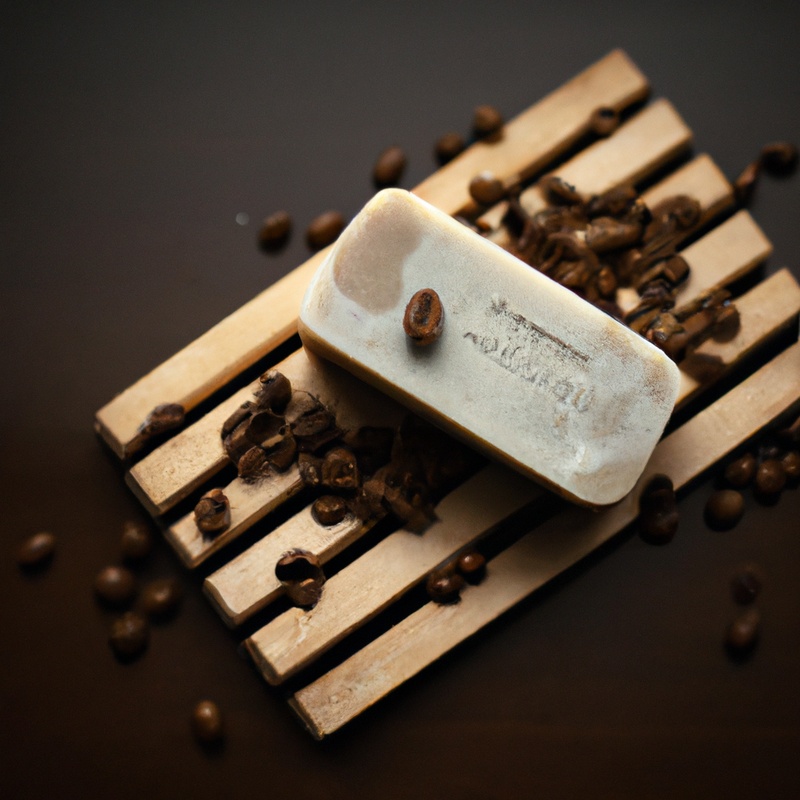
- To avoid any moisture buildup, you can store the soap on a drying rack or a wire mesh to promote airflow.
- It’s important to check the soap regularly during the curing process and rotate it if necessary to ensure even drying.
- Once the soap feels firm and dry to the touch, it’s ready to be used and enjoyed!
Remember, patience is key when it comes to curing soap. The longer you allow it to cure, the better the final product will be.
Enjoy the process and have fun experimenting with different recipes and additives!
Removing the soap from the molds
To remove the soap from the molds, gently tap the bottom of the molds to loosen the soap.
Alternatively, you can place the molds in a freezer for about 15 minutes.
This will help the soap contract slightly and make it easier to pop out.
Once the soap has been released from the molds, carefully lift it out and place it on a drying rack.
Allow the soap to cure for at least 4 weeks before using it.
Using and Storing Coffee-Infused Soap
To use coffee-infused soap, simply wet your hands and lather the soap, then rinse off.
Store the soap in a cool, dry place to maximize its longevity.
How to use coffee-infused soap
To use coffee-infused soap, wet your hands or body with water.
Then, lather the soap in your hands or apply it directly to your body.
Gently massage it into your skin, allowing the coffee-infused soap to work its magic.
Rinse thoroughly with water and enjoy the invigorating scent and potential benefits coffee-infused soap has to offer.
Use it daily or as desired for a refreshing cleansing experience.
Remember to store your coffee-infused soap in a dry place to extend its shelf life.
Proper storage to maximize soap longevity
To maximize the longevity of your coffee-infused soap, it’s important to store it properly. Here are a few tips:
- Keep it dry: After each use, make sure to place the soap in a dry area. Excess moisture can cause the soap to become soft and break down more quickly.
- Use a draining soap dish: Opt for a soap dish that allows the water to drain away from the soap, helping it to dry faster and last longer.
- Store in a cool, dry place: Avoid exposing the soap to extreme heat or humidity, which can accelerate the deterioration process.
- Wrap it in wax paper: For long-term storage, consider wrapping the soap in wax paper to protect it from moisture and air.
By taking these simple steps, you can ensure your coffee-infused soap stays in good condition and lasts as long as possible.
Frequently Asked Questions about Coffee-Infused Soap
Is coffee-infused soap safe for sensitive skin?
Coffee-infused soap can be safe for sensitive skin, but it’s important to consider a few factors.
First, make sure the soap is made with natural ingredients and doesn’t contain harsh chemicals or artificial fragrances.
Additionally, test the soap on a small patch of skin to check for any adverse reactions.
Lastly, if you have any existing skin conditions or sensitivities, it’s best to consult with a dermatologist before using coffee-infused soap.
Can I use instant coffee instead of cold brew for soap making?
Yes, you can use instant coffee instead of cold brew for soap making.
Instant coffee contains coffee extract, which can still provide the desired scent and color to your soap.
Simply dissolve the desired amount of instant coffee in a small amount of water, and then add it to your soap mixture.
Adjust the quantity as needed to achieve the desired color and scent.
Keep in mind that instant coffee may have a stronger odor than cold brew, so you may need to adjust the amount accordingly.
How long does it take for the soap to cure before use?
The curing time for soap before use varies, but it typically takes around 4-6 weeks.
This allows the soap to fully harden and the chemical reaction between oils and lye to complete.
During this time, the excess water in the soap evaporates, resulting in a harder and longer-lasting bar.
Patience is key, as using soap before it has fully cured can lead to a mushy bar that doesn’t lather well.
So, give your soap the time it needs to cure for the best results.
Final Verdict
Coffee-infused soap offers a multitude of benefits for the skin, including exfoliation, improved circulation, and reduction of cellulite.
Making coffee-infused soap using cold brew is a simple and enjoyable process that yields fantastic results.
By following the step-by-step instructions, gathering the necessary ingredients, and choosing additional ingredients for scent and exfoliation, you can create a high-quality soap that will leave your skin feeling refreshed and rejuvenated.
Remember to properly mold, cure, and store the soap for maximum longevity.
Coffee-infused soap is a natural and effective way to pamper your skin, making it a must-try DIY project for any soap enthusiast.
