Key Takeaways:
- Use a fine grind size for better extraction and flavor.
- Start with preheating the equipment and rinsing the paper filter.
- Experiment with different brewing techniques to find your preferred taste.
- Take note of the brew time and adjust it to achieve your desired strength.
Hey there coffee lover! Looking to up your coffee game and brew the perfect cup every time? Well, look no further because we’ve got just the thing for you – brewing coffee using an AeroPress with a paper filter.
In this article, we’ll walk you through the step-by-step process of using this nifty little contraption to make a delicious and smooth cup of joe.
Plus, we’ll share some handy tips and tricks to help you achieve coffee nirvana. So grab your AeroPress and let’s get brewing!
| Steps | |
| 1 | Grind 15-17 grams of coffee beans to a medium-coarse consistency. |
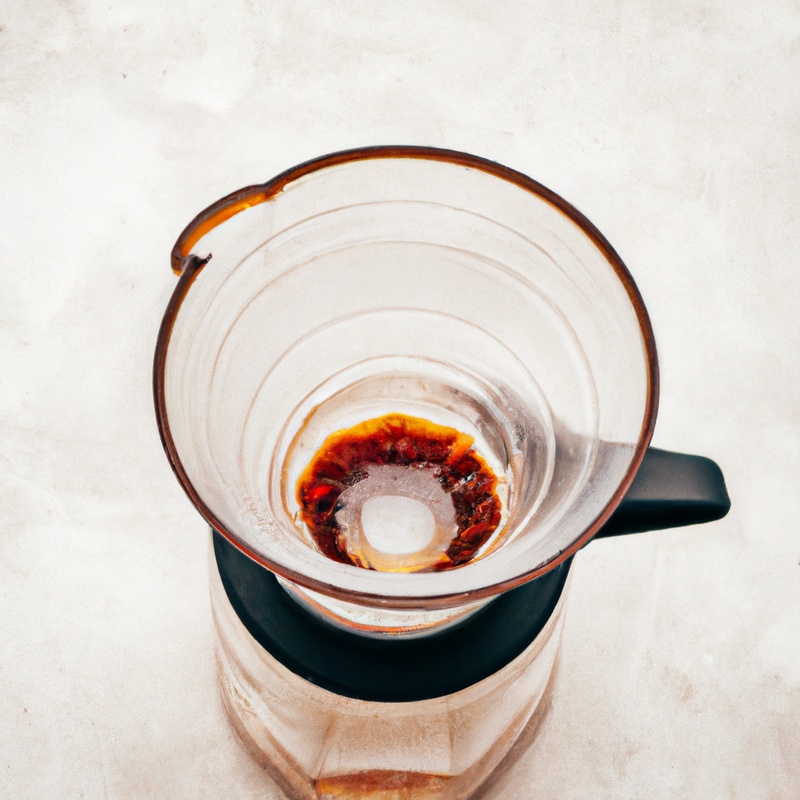
| 2 | Place a paper filter in the AeroPress cap and rinse it with hot water to remove any paper taste. |
| 3 | Attach the cap with the wet filter to the AeroPress chamber, and place it on top of a mug or a decanter. |
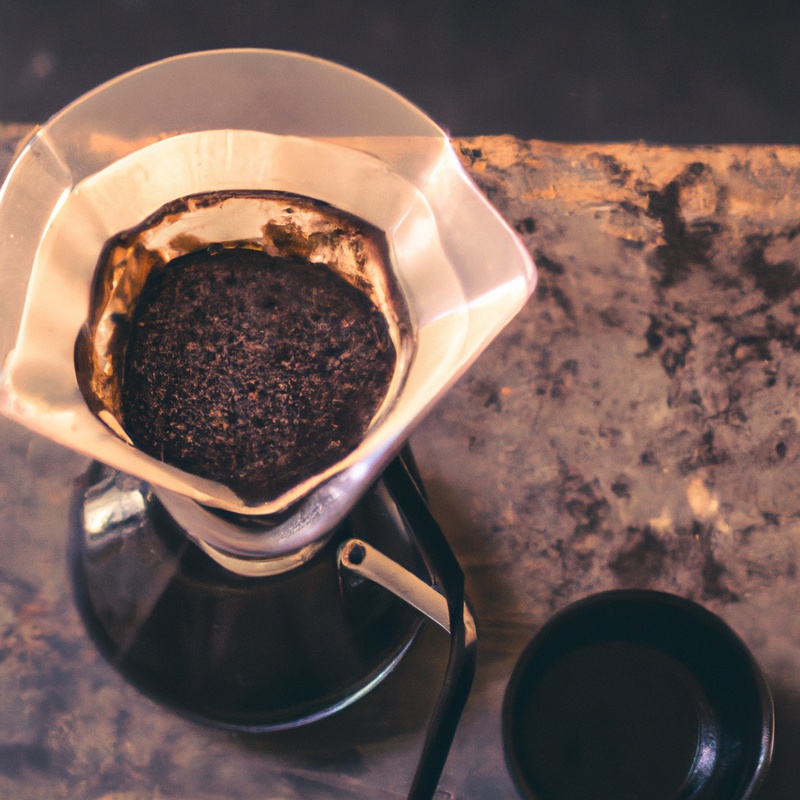
| 4 | Pour the ground coffee into the AeroPress chamber. |
| 5 | Pour hot water (175°F to 205°F) into the chamber to saturate the coffee grounds. Stir gently for about 10 seconds. |
| 6 | Attach the plunger to the chamber and gently press down with moderate pressure until you hear a hissing sound. |
| 7 | Remove the AeroPress from the mug or decanter and enjoy your freshly brewed coffee. |
Benefits of using a paper filter with an AeroPress
Using a paper filter with an AeroPress provides a cleaner and smoother cup of coffee.
Why use a paper filter?
Using a paper filter with an AeroPress offers several benefits.
Firstly, it helps to remove any sediment or coffee grounds, resulting in a cleaner cup of coffee.
Secondly, it traps oils and fats, reducing the bitterness and producing a smoother taste.
Lastly, the paper filter is easy to use and disposable, making cleanup quick and hassle-free.
So, if you want a clean, smooth, and hassle-free brewing experience, using a paper filter is a great choice.
Equipment needed for AeroPress coffee brewing with a paper filter
To brew coffee using an AeroPress with a paper filter, you will need an AeroPress, paper filters, freshly ground coffee, a kettle, a coffee grinder, a timer, and a stirring utensil.
What equipment do you need?
To brew coffee using an AeroPress with a paper filter, you will need the following equipment:
- AeroPress Coffee Maker: This is the key tool for brewing AeroPress coffee. It consists of two cylinders, a plunger, and a filter cap.
- Filters: Use paper filters specifically designed for AeroPress. They help to remove sediment and produce a clean cup of coffee.
- Coffee Grinder: Grinding your coffee beans just before brewing ensures optimal flavor. Choose a grinder suitable for your needs, whether it’s manual or electric.
- Coffee Beans: Select your favorite coffee beans and grind them to a medium-fine consistency for AeroPress brewing.
- Kettle: Boil water to the desired temperature. A gooseneck kettle provides better control for precise pouring.
- Timer and Scale: While not essential, a timer and scale can help you measure the precise amount of ground coffee and water for consistency in taste.
- Stirrer and Scoop: The AeroPress kit typically includes a stirrer and scoop. These tools assist in brewing and stirring the coffee grounds.
Remember, these are the basic equipment needed for AeroPress brewing with a paper filter. Experimenting with different methods and ratios can help you find the perfect cup of coffee that suits your taste preferences.
Enjoy the brewing process!
Step-by-step guide to brewing coffee using an AeroPress with a paper filter
Measure and grind your coffee beans, preheat your AeroPress and rinse the paper filter, assemble the AeroPress, add coffee grounds and water, stir and steep the coffee, then plunge and extract the coffee.
Measure and grind your coffee beans
To make a delicious cup of coffee using an AeroPress and a paper filter, you need to start by measuring and grinding your coffee beans.
- Measure: Use a scale to measure the desired amount of coffee beans. A good coffee-to-water ratio is 1:16, so for every gram of coffee, you’ll need 16 grams of water. Adjust the amount based on your preference and the AeroPress capacity.
- Grind: Grind the coffee beans to a medium-fine consistency, similar to that of table salt. This allows for optimal extraction without over- or under-extracting the flavors. A burr grinder is recommended for consistent results, but a blade grinder can work too.
Remember, freshly ground beans offer the best flavor.
So, grind your beans just before brewing to experience the full aroma and taste of your coffee.
Enjoy the process!

Preheat your AeroPress and rinse the paper filter
To ensure the best flavor extraction from your coffee, it’s important to preheat your AeroPress and rinse the paper filter. Here’s how you can do it:
- Start by pouring hot water into your AeroPress. Give it a swirl to warm up the chamber and the plunger. This helps to maintain a consistent brewing temperature.
- Place a paper filter in the AeroPress cap. Rinse the filter by pouring hot water through it. This removes any paper taste and also preheats the brewing device.
- Discard the rinse water and you’re ready to brew. Your AeroPress is now preheated, and the paper filter is primed for optimal coffee extraction.
Remember, preheating your AeroPress and rinsing the paper filter are essential to ensure a clean and flavorful cup of coffee.

Assemble the AeroPress
To assemble the AeroPress, follow these simple steps:
- Begin by placing a paper filter inside the filter cap, then twist the cap onto the chamber of the AeroPress.
- Next, insert the plunger into the chamber, making sure it is pushed all the way through.
- Take the brewed coffee vessel (mug, carafe, etc. and place it securely on a stable surface.
- Place the AeroPress on top of the mug, ensuring a tight seal between the two.
- You’re now ready to brew your coffee using the AeroPress!
With these steps, you’ll have your AeroPress fully assembled and ready to go in no time. It’s a simple process that sets you up for a delicious cup of coffee.
Happy brewing!

Add coffee grounds and water
To add coffee grounds and water to your AeroPress, start by placing a paper filter in the cap and securing it tightly to the chamber. Next, set the chamber on top of your coffee mug or carafe.
Measure out the desired amount of coffee grounds and pour them into the chamber.
Make sure to level the grounds for an even extraction. Finally, pour hot water over the coffee grounds until the chamber is full.
Give it a quick stir, and then attach the plunger to create a seal.
Let it steep for a few minutes, and when you’re ready, slowly press the plunger down to extract the coffee into your cup. Enjoy!
Stir and steep the coffee
To stir and steep your coffee using an AeroPress with a paper filter, simply follow these steps:
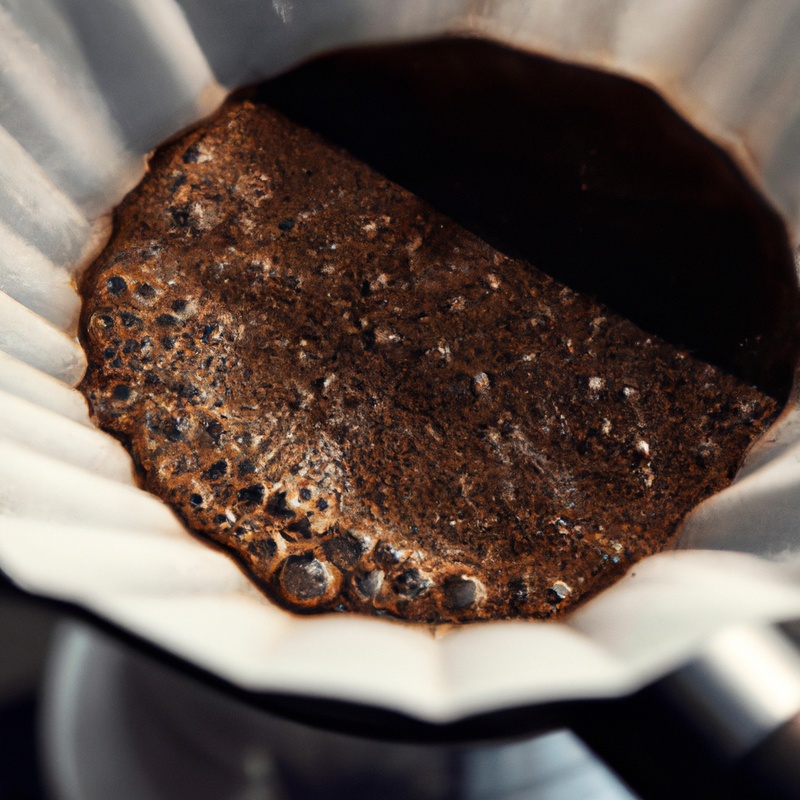
- After adding your coffee grounds and hot water to the AeroPress, give it a quick stir with the provided stirrer or a spoon. This helps to ensure that the water and coffee are evenly mixed.
- Once stirred, let the coffee steep for the desired amount of time. This could be anywhere from 30 seconds to a few minutes, depending on your preference for strength and flavor.
- During the steeping process, you can choose to place the plunger lightly on top of the AeroPress as a makeshift lid, but don’t press it down just yet. This helps to trap the heat and maintain the temperature of the coffee.
- After the coffee has steeped, give it one final stir to agitate the grounds and enhance extraction.
- Finally, attach the filter cap with a paper filter in place, position your coffee mug or container, and press down gently but firmly on the plunger to extract the brewed coffee.
Remember, adjusting the stirring time and steeping duration can influence the taste of your coffee.
Feel free to experiment and find what works best for your palate.
Enjoy your freshly brewed AeroPress coffee!
Plunge and extract the coffee
To plunge and extract the coffee using an AeroPress with a paper filter, here’s what you need to do:
- Attach the filter cap to the bottom of the AeroPress chamber and place it on top of your coffee mug.
- Add your desired amount of ground coffee into the chamber.
- Slowly pour hot water (~175°F or 80°C over the coffee grounds until the chamber is full.
- Stir the mixture gently for about 10 seconds to ensure proper extraction.
- Attach the plunger to the top of the AeroPress chamber and slowly press down with steady pressure.
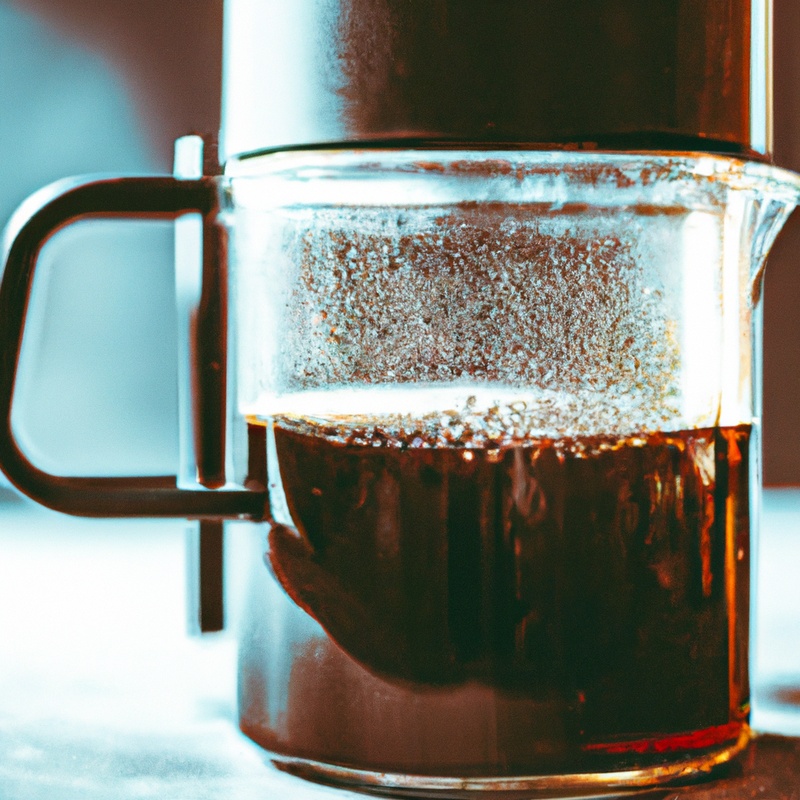
- The coffee will be pressed through the filter and into your mug, extracting a smooth and balanced brew.
- Once you’ve finished plunging, discard the used coffee grounds and rinse the AeroPress for future use. Enjoy your delicious cup of coffee!
Tips and tricks for brewing the perfect cup of coffee with an AeroPress and paper filter
Experiment with coffee to water ratio, try different brewing times, adjust grind size for desired strength, and explore recipes and techniques for brewing the perfect cup of coffee with an AeroPress and paper filter.
Experiment with coffee to water ratio
When it comes to brewing coffee with an AeroPress and paper filter, experimenting with the coffee to water ratio can make a big difference in the taste of your cup. Start with a general ratio of 1:15, one part coffee to fifteen parts water, and adjust according to your personal preference.
If you want a stronger flavor, try using a higher coffee to water ratio like 1:12.
For a milder flavor, go for a ratio of 1:18. Remember, the ratio is a starting point, so feel free to play around and find the perfect balance for your taste buds.
Try different brewing times
Want to take your AeroPress coffee brewing to the next level? Try experimenting with different brewing times! By adjusting the amount of time you let your coffee steep, you can change the flavor profile of your cup.
Some people prefer a shorter brewing time for a lighter and more acidic taste, while others enjoy a longer brew for a stronger and more robust flavor.
Play around with the brewing time until you find your perfect cup of coffee. Don’t be afraid to try something new and have fun with it!
Adjust grind size for desired strength
When brewing coffee with an AeroPress and paper filter, adjusting the grind size is essential for achieving the desired strength. A finer grind will result in a stronger cup, while a coarser grind will yield a milder taste.
Experiment with different grind sizes to find your preferred strength.
Remember that the AeroPress brews coffee quickly, so a medium grind is a good starting point. Don’t be afraid to make small adjustments to achieve your perfect cup of coffee.
Explore recipes and techniques
When it comes to brewing coffee with an AeroPress and a paper filter, there are various recipes and techniques that you can explore to find your perfect cup.
Here are a few ideas to get you started:
- Experiment with different coffee-to-water ratios. Start with a ratio of 1:16 (1 gram of coffee to 16 grams of water and adjust to your taste preference.
- Try varying the water temperature. The recommended range is typically between 175°F to 205°F (79°C to 96°C. Find what works best for the flavor profile you desire.
- Play around with different grind sizes. A medium grind is usually a good place to start, but you can adjust finer or coarser depending on the extraction rate you want.
- Explore different brewing times. The standard AeroPress brewing time is around 1-2 minutes, but you can extend or shorten it to influence the strength and flavor intensity.
- Don’t hesitate to use different brewing methods such as the inverted method, which involves flipping the AeroPress upside down during brewing for a bolder taste.
Remember, these are just suggestions to help you discover what you enjoy most.
The beauty of the AeroPress and paper filter setup is the versatility it offers, allowing you to explore and fine-tune your brewing process based on your personal preferences.
So go ahead, have fun, and enjoy the journey of finding your perfect cup of AeroPress coffee!
Cleaning and maintenance of the AeroPress and paper filter
To clean the AeroPress, simply rinse it with hot water after each use. Dispose of the used coffee grounds and paper filter by dumping them into a compost bin or trash can.
How to clean the AeroPress
To clean your AeroPress, start by removing the used coffee grounds from the chamber.
Then, unscrew the filter cap and discard the coffee filter.
Rinse all the parts with hot water to remove any remaining coffee residue.
For a thorough clean, you can use a mild dish soap and a brush to scrub the plunger and chamber.
Make sure to rinse off the soap thoroughly before reassembling the AeroPress.
Regular cleaning will help maintain the performance and longevity of your AeroPress.
How to dispose of the used coffee grounds and filter
When it’s time to dispose of the used coffee grounds and filter from your AeroPress, here’s what you can do:
- Remove the paper filter and discard it in the trash bin.
- Empty the coffee grounds into a compost bin, if you have one. They make great fertilizer for plants!
- If you don’t have a compost bin, you can dispose of the coffee grounds in the regular trash. Just make sure to seal them in a bag or container to prevent any spills or odors.
- Remember to rinse out the AeroPress thoroughly to remove any leftover coffee residue.
Frequently Asked Questions (FAQs) about brewing coffee with an AeroPress and paper filter
Can I reuse the paper filter?
No, you cannot reuse the paper filter when brewing coffee with an AeroPress.
The paper filter is designed to be used once and then discarded.
Reusing the filter can affect the taste and quality of your coffee.
It’s best to use a fresh paper filter for each brewing session to ensure optimal results.
How long does it take to brew coffee with an AeroPress?
Brewing coffee with an AeroPress is a quick and efficient process.
From start to finish, it typically takes around 2 to 3 minutes to brew a delicious cup of coffee using an AeroPress.
This includes the time it takes to heat the water, grind the coffee, and perform the brewing method itself.
The AeroPress is known for its speed and simplicity, making it a popular choice among coffee enthusiasts who value convenience without compromising on taste.
So, if you’re looking for a fast and flavorful coffee brewing method, the AeroPress is definitely worth considering.
Can I use a metal filter instead of a paper filter?
Yes, you can use a metal filter instead of a paper filter with your AeroPress.
Metal filters are a popular alternative and offer a different brewing experience.
They allow more oils and sediment to pass through, resulting in a fuller-bodied cup of coffee.
However, it’s important to note that the metal filter may allow some fine particles to pass through, leading to a slightly grittier texture.
Experiment with different filters to find your preferred taste and texture.
Final Verdict
Brewing coffee with an AeroPress and a paper filter offers several key benefits. The paper filter helps to create a clean and smooth cup of coffee by removing sediment and oils.
To brew the perfect cup, make sure to measure and grind your coffee beans, preheat the AeroPress and rinse the paper filter, and follow the step-by-step brewing process.
Adjusting the coffee to water ratio, brewing time, and grind size can also enhance your coffee’s flavor. Clean the AeroPress regularly and dispose of used coffee grounds and filters properly.
With these tips and tricks, you can enjoy a delicious and professional-quality cup of coffee from the comfort of your own home.
